Tuesday, November 28, 2017

Final Project Post!

   My vanity refinishing project is complete!  I think it looks even better than I had hoped it would six weeks ago when I decided to take on furniture refinishing.  I went from having this in my bedroom:

to this:


Huge difference!  It looks so much neater and more sophisticated.  Not to mention, I did it (with a little help from my husband)!  And I learned a lot about learning from free tutorials on the internet, furniture refinishing, power tools, and frame building along the way.

    This project helped me feel like a more competent homeowner.  I am more capable than I thought I was when it comes to remodeling small projects.  Overall, I really liked working with gel stain but YouTube was my friend when I had to troubleshoot.  The first coat must be completely dry before applying a second.  Otherwise, you will end up removing the first coat of stain.  I also learned just how important it is to pay attention to weather conditions when waiting for gel stain to dry and to be patient.  I have painted walls with latex paint and it is somewhat similar, but I felt this stain was a bit more particular to work with.   If I were to try this project again, I might invest in a chemical deglosser like some of the tutorials.  I am not sure if this would have an effect on how well the first coat adheres to the wood or not, but I think it might be worth trying.  I would also buy some paint thinner to make clean up easier.

    Learning how to use the basics on a drill, power sander and miter saw made this project so much easier than using hand tools.  They really are worth learning how to use.  They save time, can produce better results, and boost confidence!  While I hated sanding, the sander was easier than using sandpaper and sanding block alone.  I loved using the drill and saw and am glad I am no longer nervous to use our power tools.  Knowing how to use them opens up so many more projects to me.  (Thanks handy husband for showing me the ropes!)

     Surprisingly I am also glad that framing the mirror gave me some difficulty, even more than figuring out the gel stain.  Much like my students will have to do, it forced me to think outside the box and problem-solve.  I did some research and tried something new.  Better yet, it worked!  While figuring out how to make my cuts with the saw more precise was frustrating,  it was also empowering.  I developed new skills and added a whole variety of items to the list of things I can now do!  Like many, I dislike when I fail, but learning to find a way around the bumps in the road is important.  It makes failure less scary and helps build a growth mindset.  I built the frame and added hanging brackets on the back, then measured and used a level to find out where I needed to place my nails over the mirror.


The only thing I plan to do later is to dab some stain over the wood filler in the corners and to stain the inner edge of the frame.  After hanging it over the mirror, I realized the mirror reflected the unfinished wood which looked strange.   This was an awesome learning experience and I am so pleased with the end results of my project!

Monday, November 27, 2017

Final Project Post 6

     The project progress took a hiatus for Thanksgiving break.  There was just too much happening.  I had kids' parties to attend, a 19 lb turkey to roast, and then had to pack up our family of 6 to head to Schaumburg, Illinois for my eldest daughter's dance competition.  Talk about a whirlwind weekend.
He loves helping! 


   I also had to take a break because I hit a couple snags in my plan:

    First, I tried to order a new vanity counter top at Lowe's, but it was ridiculously expensive (roughly $50-$80 / sq. ft/) and I waited too long.  It was going to take 10-15 days to come in.  There was no way my project would be finished by the Thursday following Thanksgiving.

    Second, I didn't cut the baseboard I was using to create a mirror frame exact enough.  I measured twice, but was somehow off by about a 1/2 cm on two sides.  My plan to glue the pieces around the mirror was not going to work.  I didn't realize this until after I glued the mirror up and one side of the planned frame.
I used Gorilla Glue to attach the mirror.

and tried to use it on the frame...
 I quickly removed the piece of wood from the wall.  Then, I panicked a bit, and found a way to "make it work"(thanks for the words Tim Gunn).

     The countertop solution was a happy accident.  My husband happened to get a business card from the owner of a shop that builds countertops.  This owner also just happened to have a piece of solid surface material that was damaged during shipment, so he gave me a great deal on building me a top!  Luck?  Yep, and I will take it!

      The framing solution took a bit more effort on my part.  I didn't want to spend more money on more baseboards.  And I didn't have time to stain and topcoat new boards either.  I realized after researching how other people framed mirrors that I could trim the boards a bit to make the corners match and hang the new frame like a picture OVER the mirror.  I just needed to create an actual frame.  This is a little tricky even when the boards meet up perfectly.  I recut the boards trimming them a half inch shorter than what I was originally going for.

        Then, I used wood glue and staples to create the frame and then let it set overnight.  I still needed to use some paintable wood filler to fill the cracks in two corners.  I will need to dab some stain over that later, but right now I am just concerned with getting the frame made and hung on the wall.

    The rest of the vanity has been reassembled with new knobs and new top.  The top was attached with the Gorilla Glue as well.  It looks great so far, but I want to save the photos of the final product for my final post tomorrow!

Monday, November 20, 2017

Technology assists Teacher Productivity!


    Education technology used to be something that gave me anxiety.  I don't feel that way at all anymore.  While I may not embrace all technology, I now recognize that it is going to assist me in my endeavors to reach my students.  And isn't that the idea behind all tools, especially technological ones?  Yes!  Tools are there to help make work easier.  So, what tools do I think I will bring into my classroom?

   First and foremost, I know I will be utilizing GoogleDocs.  As an ELA teacher, writing is a mainstay of my curriculum, and GoogleDocs provides a more efficient way for my students to submit their writing, for me to provide feedback to them, and allows for collaboration between students.  Does it get any better?  It saves paper.  It saves time.  It allows kids to work together. Win-Win.
  
    Another tool I think I will find useful is Remind.com.  I like that the app provides a direct communication link between teachers and parents.  I can use it to contact one parent in particular, or send out messages to entire groups.  Parents are in the loop about what is happening in the classroom and have a way to contact me if necessary.  This app builds a bridge for open communication without me having to search for individual email addresses or phone numbers, or sending home notes.  Parents feel more comfortable supporting teachers when they know what is happening in the classroom.

    I also love PearDeck.  It is a great forum for communication with students.  It allows for interactive teaching, and it instantly generates data from the student responses to my formative assessment questions.  Being multifunctional is always a plus!  It saves me time and energy by immediately showing me who is struggling with content.  That allows me to more effectively tailor my instruction for struggling students.  

    These are only a few of the tools that I have learned about, but they are ones that I feel comfortable using with minimal exposure.  They have also made me braver about trying new things.  Technology is ever changing, and now I understand how to better use it to suit my needs.

Tuesday, November 14, 2017

FInal Project Post 5 - PowerPoint!

Is Blended Learning the Bees Knees?

     Is blended learning the new frontier in education?  Lately, I am leaning toward answering that with an affirmative.  Some of my college courses (including the one this blog is for) are considered blended.  Some have even been offered completely online.  And I think it speaks volumes when I say that, though I am not a digital native, I haven't struggled to learn effectively from these courses.  I believe most students today could navigate a blended classroom successfully.  I quite like the freedom that online learning offers me.  I can learn when I have time in my crazy schedule, wherever I may be.  I also like that many of these courses offer online textbooks or online articles and podcasts rather than traditional texts.  They save money and open up learning.  And these benefits also appeal to younger learners, which explains why many high schools and middle schools have incorporated blended learning courses into their curriculum.

     So what is blended learning?  According to Stacy Hawthorne, the technology integration coordinator for Medina City Schools, blended learning is:
  • A classroom where students are accountable for their learning and time
  • A place where students have to formulate questions then discover and evaluate answers in order to learn
  • An atmosphere where collaboration is essential to success
  • A setting where learning occurs in any space and any time; and
  • An environment where mastery is shown through authentic projects or presentations.
(See her article here.)  I feel like many of these skills are designed for the older learner,  mainly found in secondary grades 9-12.  A great deal of blended learning requires that the student can self-regulate and be responsible for their own learning.  That being said, elementary students should be exposed to a great deal of technology rich curriculum so they are prepared to take blended courses in the future.  In her Building Blended Learning Environments video, Hawthorne states that there are a surprising number of fully online schools across the U.S.  I only wish she had provided statistics proving they contribute to student success.  I have a suspicion that many of these fully online schools are charter schools, many of which do not experience a great deal of success according to standardized tests and graduation rates.  
   
      While I love the idea of online components to classes, blended classes,and even some classes being completely online, I do not support the idea of fully online school for mainstream learners.  I feel there is value in learning to physically interact with peers.  I am a bit intimidated by the idea of developing a blended class, but like that Stacy admits they do not get created and integrated over night.  With the right support from administration and from peers, I feel I could transition from a classroom that incorporates some technological tools to one that is blended in just a short time.  


Thursday, November 9, 2017

Technology and Assessment


     Assessment is an integral part of education.  It informs educators where their students need them to begin, where their students' understanding breaks down, and if students have mastered the skills they were intended to.  Education is a continuous cycle of teaching and assessment of student comprehension/mastery.   We set goals aligned with standards for our students, teach students the content, use formative assessment to gauge student understanding,  then provide feedback to our students about if they have or have not met the learning goals (including how to meet them).  Assessment should inform our teaching practices and help us differentiate our teaching to help all learners grow as much as possible.  I particularly like this graphic by Rich James depicting the learning cycle.
Step 3 (Gathering Data) is where you assess. 

      Formative assessment can NOT be some sort of high stakes test.  We learn by trying and making mistakes, so formative assessment should only be work a few completion points at best.  Practice should never be punitive.  Some classes do not need a point value and complete the work because they see the value in practice, and I would argue that some of the best teachers work this way.  It is also important to note that some summative assessments turn out to be formative.
       
     So where does technology fit in to assessment?  I would argue it is becoming an essential tool for effective assessment.  New technology, especially technology used in 1:1 classrooms, allows for teachers to be in constant communication with their students.  Students are able to interact with lessons and work at their own pace.  Technology such as newsela.com allows teachers to differentiate reading to help all students increase comprehension.  Teachers can use applications such as Kahoot or Peardeck to ask the whole class to respond to a question, or they can use different apps to ask individuals questions.  The best part, in my opinion, is that teachers can instantly compile who is meeting learning goals and who isn't and provide feedback (both whole class and individual) more efficiently and more often.  This is the ultimate goal of assessment!


Monday, November 6, 2017

Final Project post 4

    Sanding done - check!
    Staining begun - check!
    Mirror removed - check!
    Electrical outlet moved - check!  (Thanks handy husband!)
    New mirror and framing purchased - check!

    My project is coming along.  Progress is happening a bit slower than anticipated, but I have 4 kids....so that is to be expected.  Nonetheless, the worst part is over.  I hate sanding! It is so messy!  Dust was EVERYWHERE!  The OCD part of me almost lost her sanity.  But, then she finished faster by using an electric sander and quickly grabbed a vacuum.  Whew!


    The mirror came loose much easier than expected, but was too heavy to lift so my husband did that before moving the outlet.  I like the new spot it resides in.  Must less obtrusive.  I can't wait to hang the mirror on the wall.  But I need to figure out exactly how I want to do that first.
Notice how he deftly rotated said outlet!?  
Also, notice that I did indeed properly prep walls and protect carpet with tape.


    The first coat of stain has been applied.  It certainly isn't pretty yet (very streaky looking), but I am going to trust the YouTube video and web tutorials and believe later coats of stain improve the look.  I created this list of helpful tips on canva.com.

Thursday, November 2, 2017

Final project update- week 3

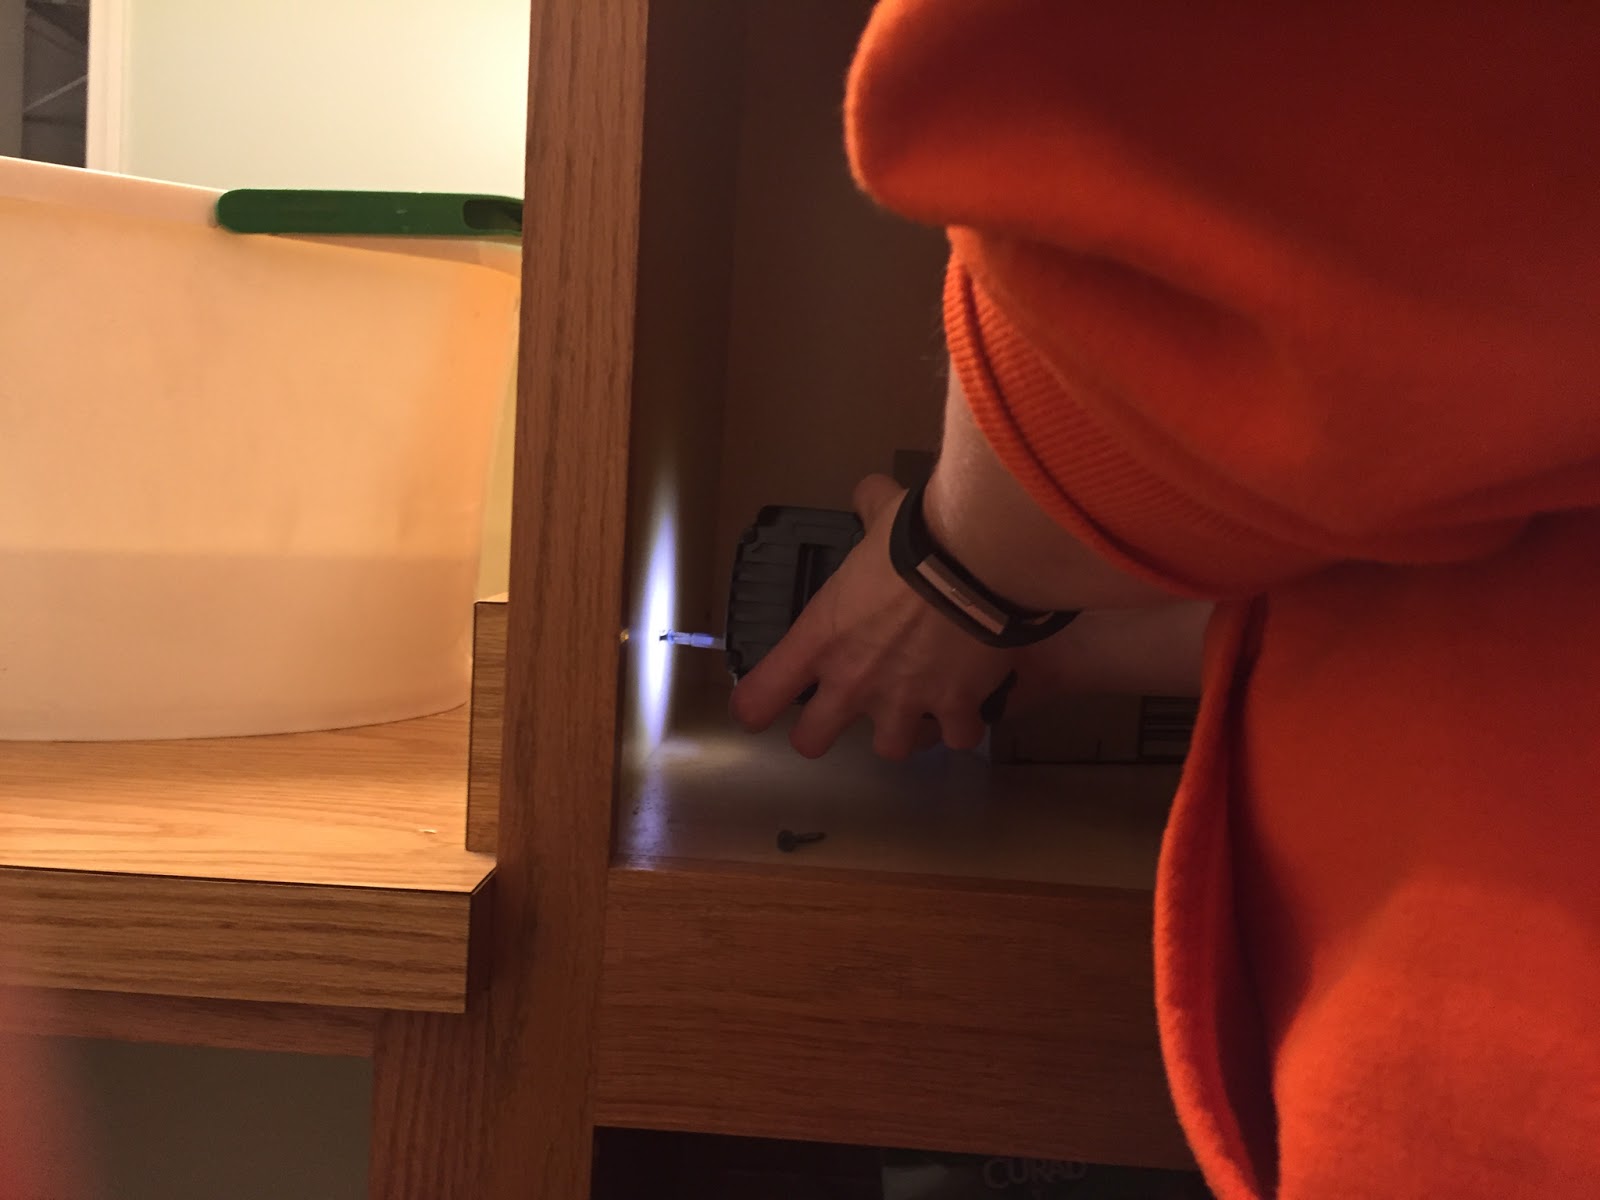
   Lots of slow progress as been happening this past week!  I removed all cabinet doors, drawer fronts, and drawers.  I even used an electric drill to remove the vanity top and side piece!  I was a little nervous about power tools, but my screwdriver and brute strength weren't cutting it.  After I got the hang of using the right amount of pressure on the trigger, the screws came out easily.  I only stripped one screw, but my husband taught me how to use a rubber band to help the drill catch and remove it.  The rubber band fills the hole and gives the drill something to catch.


   My little guys were desperate to be included in the process, so I had them help me scrub everything down with a solution of Dawn dish soap, washing soda, and warm water.   We used a scrub brush and rags to get everything super clean.  Some tutorials used a chemical stripper to remove grime, but I feel like that is overkill.  I wasn't looking forward to those fumes, and besides, I am sanding to rough up the finish anyway.  The bedroom carpet was a little wet, but at least it wasn't soaked by a flammable substance, right?  Sorry about the photos...this is the best you get when the photographer is 4!


      Then, I proceeded to start on the sanding.  I will be honest, this is my least favorite part thus far.  The sand paper leaves my hands dry and raw and the dust goes everywhere.  I should have invested in a mask.  I am glad I moved the doors and drawer fronts to the basement for sanding.  Sanding the vanity base alone is going to make my bedroom a mess.  I intend to tackle that tomorrow with a power sander!  Maybe I won't mind sanding so much then, but I think the paper and sanding block worked best to get all the nooks and crannies in the doors.   I am attempting to include a timelapsed video of me sanding one of the drawer fronts to give you an idea of how time consuming sanding by hand truly is.  And to be clear, I am only scuffing the surfaces with 220 grade sand paper, not removing the finish entirely.


Tuesday, October 31, 2017

The Importance of Learning Environments

        The learning environments of today's classrooms are in a state of change.  This comes as no surprise as we know our environments affect how we feel, how we think, and can be motivating or deflating.  Learning environments are not only the physical spaces surrounding us, but also the digital spaces to which we have access.  Today's students are connected to the digital global community and we want to provide them access to technology that enables them to use open educational platforms and promotes collaboration.  According to this video, when students feel comfortable in their learning spaces, they are more likely to focus on the four Cs: Communication, Collaboration, Creativity and Critical Thinking.  These are the qualities and attitudes of tomorrow's marketable adults!

     As a teacher and mother, I am constantly amazed at the number of Google Apps that can be used in the classroom setting to enhance learning.  My third grader knows how to use her Google email account to use Google Docs and Slides.  She understands how to share documents with friends and her teachers and enjoys doing it.  She likes to explore using Google Earth. She even used another Google App to create music for her music class and was able to create a presentation!  Educators, incorporate Google Apps for Education into your repertoire!  If a third grader enjoys collaborating with peers and teachers using these applications, think of what a young adult could do!  You can assist them by providing structure with calendars and assignment directions that are accessible whenever, wherever.  Yet, the assignments can be more student centered.

      Because technologies are so essential to learning environments, we need to break out of the traditional factory model of the classroom.  Classrooms should provide transparency to learning and be spaces that promote sharing and the ability to explore.  While I disagree with Tina Barseghian that "By 2019 half of high school classes will be delivered online," I do agree that brick and mortar schools will need to shift away from traditional classroom models to remain relevant to the needs of today's and tomorrow's learners.  Her article can be found here.  Learning environments need to be flexible and engaging.  Students need the freedom to view different focal points. A white board and Smart board, perhaps? .  Many schools already have BYOD (bring your own device) use policies in place, as a majority of students possess tablets, phones and laptops which they bring to school.  Chromebooks are becoming popular items for creating classrooms that provide technology to every student in other schools.  These technologies allow for teachers to create interactive lessons that provide more student engagement than traditional lectures and direct instruction.

     Currently, at the University of Akron, the campus has many updated buildings and spaces that are better tailored to suit the needs of its students.  Bierce Library has small conference rooms, a large space with tables and chairs that can be arranged in the most conducive ways, many computers, and two stations that provide tech help.  In the newer buildings, such as Zook, there are tables and chairs in common areas that are comfortable and provide access to power outlets.  I do not spend much time on campus, but my needs are met when I am there.  I remember when this wasn't always the case.  This shift is evidence of the changing learning environments happening in grade schools and secondary schools across the nation.  

Wednesday, October 25, 2017

Rights and Responsibilities of Digital Citizens

    We all seem to agree that today's students are digital citizens.  And citizens have rights and responsibilities to follow laws and respect others' privacy.  We educators must understand these laws and guidelines so that we can teach our students how to use digital resources effectively.  Part of the Common Core requirements is for students to be able to use technology to produce and publish writing.  We should strive to help our students become creators!  And to do this, they need to know how to use digital resources responsibly and how to give borrowed work the attribution or citation that is due.
   
    When teaching any lesson, we first model the behaviors or goals we want from our students.  Why should the way we, as teachers, use technology be any different?  When I share content with my students, I should check to make sure it is public domain or that I am following the rules of the copyright license and note this to my students.  In her article "Teaching Kids About Copyright", Tara Woodall explains that before we assign tasks that involve students creating digital content, we must first teach the following concepts: Copyright, public domain, fair use, and creative commons.  Her article can be found here.  By helping our students understand these terms and the differences between them, we help them comprehend the rights people have over their intellectual property and creations.  We can help them grasp the importance of using and sharing the work of others legally.

     We must also stress the ethics behind the seemingly innocent sharing and downloading of videos and music.  If these creations are someone's livelihood, illegally downloading or borrowing their work to contribute to your own without their permission is STEALING.  I believe it is important to stress this, as kids understand that stealing is wrong and that is has legal consequences.  We want to encourage them to be creators.  And we have the power to show them where to find resources that they CAN legally use as well as how to be responsible with the work of others.

Project progress-week 2 update

     This week's progress consisted of prep work and purchasing materials.  I am a little afraid of the demolition part (removing the countertop and mirror), as my daughter's use this vanity daily to get ready for school.  In order to give myself ample time without upsetting our daily schedule, I plan on completing those parts of this project this coming weekend and will provide photos then.

This week I checked out the following sites and videos to be sure I would be prepared.

https://www.maisondepax.com/2016/08/diy-gel-stain-cabinets-no-sanding-stripping.html

http://www.diynetwork.com/made-and-remade/learn-it/use-gel-stain-to-spruce-up-cabinets-lamp-bases-and-more

https://youtu.be/plePW69gKcw

I also purchased the following supplies:

I found them on Amazon.com, but it is possible they are sold elsewhere at better prices.  With 4 kids and my own classes to juggle, I don't usually have time to shop around.  I fully take advantage of a Prime membership that gets me free shipping on many items.


The sites also recommend having sanding blocks and/or an electric sander, drop cloths, painters' tape, painters' pyramids, foam brushes/old socks, TSP (a deglosser), mineral spirits, and general tools like screwdrivers.  I am not using TSP, but am going to wipe everything down with diluted denatured alcohol instead.  I am also planning on throwing the old socks or paintbrushes I use away, so I am not investing in a large can of mineral spirits, only a small one for minor clean up.  Everything else we own somewhere in the garage or craft box.

   I have taken off cabinet doors and drawer fronts.  They are currently in my basement waiting for me to sand them down. That was an easy job with a screwdriver.  I will admit I needed by husband's muscles to remove a few of the knobs, as whoever originally put them on must have been related to Superman.  Tonight begins the sanding!

Expect more photos later this week!

Monday, October 23, 2017

Cool Tool Review 5- Mind42

     Today, I got organized for my final project by exploring Mind42.  It is a mind mapping app that allows users to create some pretty elaborate maps.  As a newbie, mind isn't so elaborate.... my mind is a less is more kind of mind.  I have always like simple outlines, but I see the benefits of complex too.

    I like that this user friendly site has ways to embed links, add images, and easily search for terms.  It also can easily be shared with others and has a notes feature for collaborative projects or for teacher feedback.   I couldn't figure out how to rearrange how the nodes come off the topic in the center, but I am pretty sure it is possible.  

    This tool could be used in a variety of content areas.  For ELA, this tool could be used to help student organize ideas and topics for papers.  Students who prefer using tech over pen and paper would definitely gravitate toward a tool like this.  The collaborative features mean saving time and paper when giving feedback to students.  This could also be used as a vocabulary tool with each word as a node with photos, definitions, synonyms and antonyms.  Any content that requires building schemata would find this useful.  

     It is easy to use and allows for sharing, but remains safe and private unless the students choose to share.  The buttons for creating your mind map are easy to locate and manipulate.  You can change text color and add or delete things without disrupting the entire map.  Students will love organizing thoughts with this tool.

Cool Tool Review 4 - GoogleLitTrips

   I came across this cool tool while reading a techie article a few weeks ago and immediately thought it sounded like a great way to get students interacting with the literature I plan on teaching.  I had to check it out! It was kismet.  The tool is called Google Lit Trips.  It works in conjunction with Google Earth, which must be installed first.  Via a Lit Trip, a teacher (or student) is able to place mark places on a map that are vital to the literature.  They can add photos, notes, or video to highlight important aspects of the text and enhance comprehension while mapping out the movement that takes place in the book.
   
    Google Lit Trips has three ways it can be used in the classroom.  A teacher may select an Google Lit Trip from the Google Lit Trip Library to share with students.  (The Library has a small variety of books for various grade levels).  A teacher can choose to create their own Lit Trip for a book they are reading or to map out something that happened in history.  To do this go here. Or, a teacher can demonstrate and have students create their own Lit Trips!  If this idea appeal to you, check this out!  The link will give you instructions and useful tips on how to help your students create their own trips. I love the last option!  So, much better than reading book reports...

    This tool is called Google Lit Trips and does lend itself to an ELA classroom, however it also could be used for social studies/history classes, geography, and to create cross curricular lessons.  If a teacher wants to create or have students create their own Lit Trips, a few things must be remembered:
1.) It only works with narratives or histories set in real places. (or made up places based on real ones)
2.)  There must be movement in the story... as in the characters actually must move from place to place.  This can mean between countries, cities, or even different places within a city.
3.) Google is big on following copyright laws.  They repeated recommend having students practice finding images on places like Creative Commons, Wikipedia, and similar sites and state clearly that when creating Lit Trip, they can only be published if all images are copyright safe and sources are cited.

    So, how might one use this?  I would use this tool when reading books dealing with the Holocaust, or about Greek mythology, or books about the relocation of the American Indians.  Anything historical where people move great distances would be great to teach using this tool.  If I were to teach historical biographies, I would have students select one of four to five Holocaust autobiographies.  I would then use this tool as summative assessment.  Students would be asked to get in common groups according the book they selected.  Then they could create a Lit Trip documenting the journey their character took.  They could add photos and video of survivors discussing the various labor camps, what was happening on the front lines of the war, and what happened when the war ended.    It would be a great way to compare survivors experiences, and to assess what students understand about their stories.  I love that students get to take the role of the teacher, and prompt discussions that interest them.

     Using this tool, students can save their trips to their individual devices and can share them with others if they choose to submit it to Google.   I found it easy to download Google Earth and access a premade Lit Trip.  It takes some practice learning how to navigate on Google Earth, but once you understand how to move on the map following the path becomes easy.  Creating a Lit Trip would be more difficult and more involved.  I or my students would need to take note of the places mentioned in the reading, then seek out URLs for images and video that would be useful in understanding characters, setting, plot or themes.  Here I would need to teach my students about the rules of copyright and how to find images and video that are safe to use.  Then, they just plug and chug!  While it is a bit complicated, Google Lit Trips does a great job providing detailed instructions, even I was able to follow them.  Check out this Cool Tool here.


Saturday, October 21, 2017

Final Project - Learn Something New

   After all this talk and research about technology, I need to put it to good use and use technology to teach myself a new skill.  After much thought and consideration, I realized if I was devoting all my spare time to a project, I wanted to have something lasting to show for my effort.  I settled on learning to refinish builder's grade oak cabinets, a vanity, in fact.  I have lived in our current home for about 5 years, and I have wanted to replace the strange built-in vanity since we moved in.  Our budget, however, has never been able to stretch far enough to replace it.

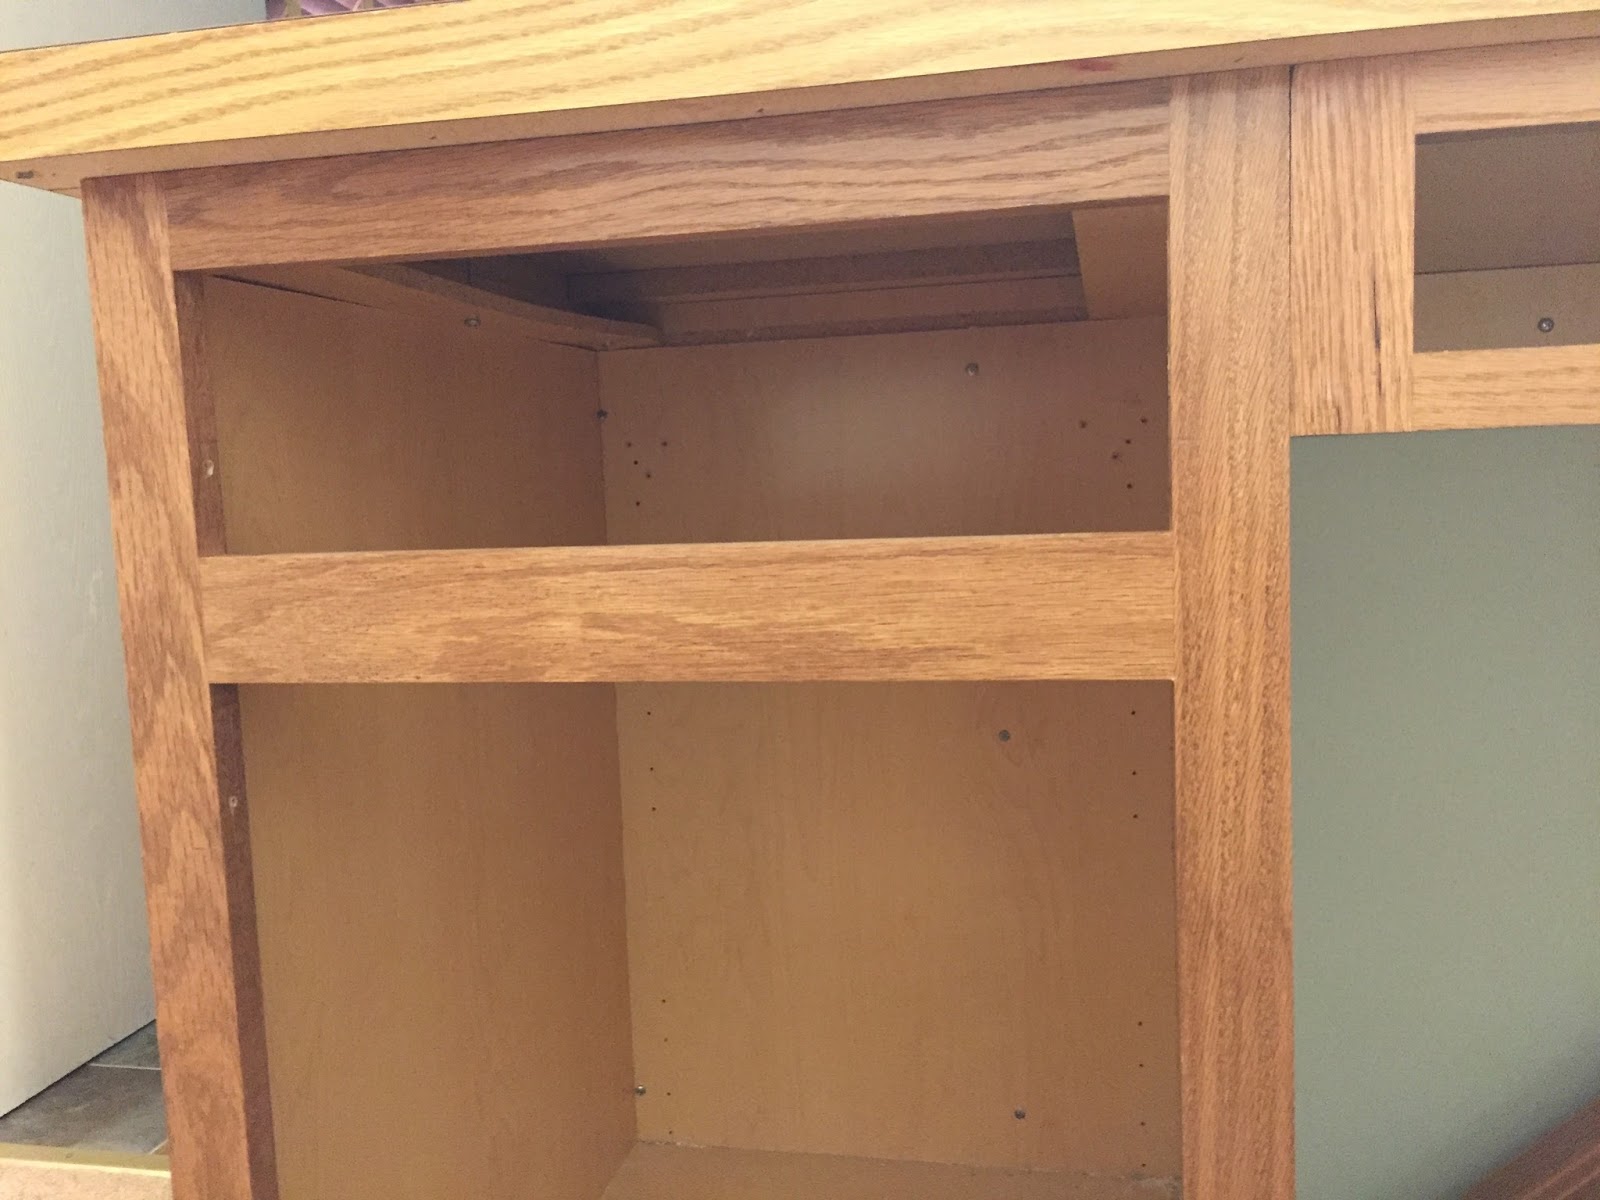
    After a bit of Pinterest research, I realized I could refinish it to make it look more updated.  I just need to learn to use some tools and new products! The internet is full of YouTube tutorials and blogs on how others have done similar projects.  I like this blog tutorial best so far and am using it as a guide.  While my husband is fairly handy and owns quite a few tools, I have never been one to tackle power tools and stain.  Painting a room I can do.  Using saws, drills, and power sanders?  Well, I am going to learn.  In addition to gel staining my vanity, I intend to replace the mirror and frame a new one, and I plan on replacing the laminate countertop with something nicer.  My husband has kindly offered to tackle the one thing I do not feel prepared to do... move an electric outlet.  It is currently sitting in the middle of the mirror.  Weird, right?  Let me give you a better idea of the project.
See the outlet?


(Sorry, for the strange angle, but a wall is in my way and is prohibiting me getting the entire vanity in the frame from the front.)   So other than that pesky outlet, this project is all mine!

Bring on the parts I am most looking forward to, demolition and shopping for supplies!


Wednesday, October 18, 2017

Techie Tool 3 - GoAnimate for Schools

   Today, I enjoyed creating videos on GoAnimate4Schools, which is saying something because I typically don't enjoy that sort of activity.  It wasn't nearly as difficult as I thought it would be.  The templates are at your disposal, you can add preselected music, and have your characters talk.  It actually reminded me a bit of creating an ebook, only instead of writing text you and/or your students are creating a cartoon.  It is a very safe way to incorporate technology into your classroom.  The site doesn't allow sharing with other sites,  its templates are all PG, and teachers get to preview student work to make sure profanity isn't included.
   
   Unfortunately, this tool isn't free.  Teachers are required to purchase an account.  I was able to try it for free using the 14-day free trial.  But even my limited experience with it demonstrated to me the ways my students would find it useful.  Students could recreate a play or story and put it into modern day with modern language.  Students could demonstrate how to properly perform a task such as a science experiment or art technique.  Students could even explain the parts of a sentence or story line sequence with their cartoon.  The app has messaging and notification systems, so communication between students or to the teacher is easy.  And teachers are notified when new work is ready for viewing.

   The humorous backgrounds and characters insert some fun into content.  Students would find the tool engaging while processing important concepts.  This tool allows students to guide the learning.  They can be the teacher by creating cartoons that review, explain, or create something new.  The app is pretty straightforward and easy for students to use, though I couldn't view it as a student from the teacher dashboard.  I like how it prohibits students from accessing mature content, however I wish they were able to share or publish their work more easily.  Students like being able to show off what they create if they are proud of it.   While I like the tool, the cost makes it less likely I would use it unless my school was paying for my account.  If I am only sharing videos with my students the cost is $79 per year, but if I want my students to do the creating (and I DO!) the cost is $446 per year.  YIKES!

Are ebooks the future of education?

      Apparently ebooks are the new trend in the classroom, both reading and writing them.  Which I supposed makes sense when considering that teachers are supposed to be considering things like TPACK, open learning, and helping students create digital footprints when planning their lessons.  This dinosaur still prefers books made from paper....preferably hard cover ones... but I digress.  

     I get it.  Ebooks are the future for their multiple appeals to students.  Writing on paper is old school and so very analogue to students who travel on the information superhighway for hours each day.  And if we educators want our students to be interested and engaged, ebooks are one great tool.  As Jon Smith, a fellow educator states in his, article found here , "[Students] need to be creating content and be a part of the learning process.  They need to show us what they know.  They need to be able to explain it."  Ebooks provide a way to move away from teacher driven learning to learning that is student-led.  

     As a potential ELA teacher, I see ebooks being a great way to get students writing.  Jon Smith experienced impressive results getting multiple types of kids writing using this tool.  What I found most interesting was that he found that this tool could be used across content areas is so many different ways.  It was so versatile!  Because students have an interactive and engaging way to express themselves to an AUDIENCE, it gives them a bigger sense of purpose behind their work.  While some students may balk at the idea of putting their writing out into the world, I think many would embrace the idea of publishing it.  Students now have the ability to create an entire report online, complete with outlines and places for notations.  Collaboration with peers and teacher can happen online, both in and out of school.  Parents can easily view what their children are working on and start a dialogue with them about it.   

      To effectively teach using ebooks, there are some things to consider.  Think of TPACK before you try to create an ebook assignment.  Does the content and pedagogical method lend itself to this technology?  Also, with students downloading photos, art, or quotations there is always the danger of plagiarism.  Be sure they understand what plagiarism is and how to follow copyright laws.  A good source for this can be found here.  


Tuesday, October 10, 2017

Digital Citizenship...It Really Matters

      Here we are.  Online.  Sharing thoughts.  At least, I am currently sharing mine with you.  And being present online is something I do daily, yet I have only recently realized that this makes me a citizen of a digital world.  I am a citizen, and therefore have a responsibility to be aware of my digital footprint and keep it in good standing.  As a teacher who plans on incorporating technology into her classroom, I also have a responsibility to teach my students how to be good digital citizens.  
   
     But what does being a responsible "digital citizen" look like?  What does that actually mean?!  It means that you participate kindly, and responsibly.  You are respectful of others thoughts, feelings, and privacy.  Just as we don't steal from others in the real world and ask before using someone else's bike, we need to use the digital work of others with permission and give credit where it is due.  Digital citizenship means remembering that toothpaste can never get shoved back in the tube!  What you share in the digital world is out there forever....you can't get it back.  So I think before I post, or share, or buy.  You never know who might see it.  A thief?  A future employer?  A student?  A parent of a student? 

    As a teacher, I want my students to use technology and become familiar with the digital world.  The odds are good that they will all be frequent flyers here and will have jobs that require familiarity.  But I understand why adults are worried about what kids are being exposed to.  Not so very long ago, kids didn't have hand-held access to so much of the world.  Once we could be shielded from the ugly parts, from the predators, from constant consumerism.  Now, with a few taps on a screen or keyboard, today's youth have and inside pass to anything and everyone.   According to the article found here, "Among social media users, 88% of teens have seen someone be mean or cruel to another person on a social network site."  This lack of control and lack of ability to protect has parents trying to limit their children's access to the digital world.  They assume that by limiting their child's use of technology they are protecting them.  In truth, they are often sheltering them too much.  We don't protect our children from bumps and bruises by not letting them learn to walk or ride a bike.  Instead, we hold their hand, run with them, and buy them a helmet.  In much the same way, parents need to demonstrate digital safety and good digital citizenship to their children.  They need to discuss what is safe and what to avoid.  Provide some protection without smothering the creativity!  There is so much potential for learning and discovery in the digital world.  Our job as parents and teachers is to prepare our children to use it to expand their potential.


Saturday, October 7, 2017

Cool Tool 2 - Peardeck

     This week I took a moment to review Peardeck, an awesome (FREE!) interactive slideshow tool for teachers who have 1:1 technology in their classrooms and a projector of some sort.  

    Peardeck allows teachers to create interactive slideshows for their classrooms.  Unlike Prezi, it has fewer options and no preset backgrounds, however it does allow a teacher to load in a slideshow from Powerpoint or Google Slides if you are looking for something fancier.  It is incredibly user friendly.  The best part?  Educators can quickly create an interactive slide show where students can type in answers, visit preselected websites or videos, and select multiple choice answers to teacher's questions.  I think the most user friendly part is that it shows teachers exactly what students can see as they create the slides.  


         This is an excellent tool to engage students in classroom lectures.  They can participate in the learning by exploring preapproved websites and sharing what they find important with their peers.  This would also be a great way to begin classroom discussions during the introduction of a topic and as the class moves toward deeper understanding.   Students can even pose their own questions. This tool allows for constant student feedback and makes formative assessment easy.

     While this app is not something students would use to create something, it is a great tool for teachers.  It allows for communication between teachers and their students rather than the teacher talking "at" their students.   Students take part in exploring topics and are more likely to be engaged.
  
  To create your own interactive slideshow click https://www.peardeck.com/

Wednesday, October 4, 2017

Unpacking TPACK

       TPACK...funny little acronym.......loaded with meaning!

       That is what I have been learning about this week.  To be honest, I had never heard the term before, but a quick Google search led me to realize that apparently I have been sticking my head in a hole.  The term was all over the internet.  For those ostriches like me, the acronym stands for Technological Pedagogical and Content Knowledge.  Important loaded term right here!  I found the most helpful and quick explanation of TPACK to be this link here.  Sometimes simple is better!

       So what does this all mean to me as a future educator?  As an educator of digital natives, I need to be on board with incorporating technology into my classroom.  My students not only are engaged by it, but the futures I am preparing my students for will require them to be fluent in it.  When designing my lessons, I need to consider every domain of knowledge that I am incorporating.  If I decide to introduce a new tech tool, I need to consider a few things.  What content am I teaching and what is the desired learning objective or product?  What is the best teaching method or strategy to obtain this outcome?  And finally what technology can enhance my students' learning this information?  The technological domain is important and cannot be viewed as extra or merely tacked on.  It must be seen regularly used tool with a purpose, not superfluous.

     Using tools in the classroom, particularly technology based tools, can be a great way to interest students and get them involved and interactive in their own learning.  These tools provide students access to real audiences and help whenever they need them.  Using technology, students can publish their own work, collaborate with others outside of the classroom, and find additional resources.  I view technology as a real boon, particularly for introverted students who find being on the spot during in-class discussion a difficult and stressful situation.  By providing them a bit of a time and space to work, I as a teacher am better able to assess what they know.  
 
     However, technology is a bit like fire.... while essential, it needs to be handled carefully.   Technology can be dangerous and students must be taught to use it responsibly.  Teachers must familiarize themselves with the tools they are asking their students to use.  And they will constantly need to update their skills, as tech is always changing.  It also has the potential to completely ruin a lesson if you don't have a back up plan and the school's network goes down.  YIKES!  Some teachers aren't comfortable using technology, or aren't using it to its full potential.  If you are someone who collaborates with these teachers, this may not be an easy partnership....or it may be the perfect opportunity to share wealth of information!

     Because I am not a digital native, I am going to have to start small.  I hope to learn a few tried and true great ways to incorporate technology that can be implemented in a variety of formats.  Google Docs is a good start.  I plan to have a classroom blog and discussion board that students and parents regularly use.  In order to find the rest, I will ask fellow teachers and continue to search the web to see what other ELA teachers have successfully used for different units. The information is out there, I just need to learn how to use it.

Cool Classroom Tech Tool Review - Prezi

     This week, I took a moment to explore a tech tool I could implement in the classroom.  I chose to explore and experiment with Prezi.  I selected only tools I was unfamiliar with so that I could give an unbiased opinion, and Prezi is no exception.  Prezi is a tool used to create slideshow presentations.

     Let me start by saying I enjoyed using Prezi.  In my undergrad days, presentations were made using Microsoft PowerPoint... and that was it.  While I am more familiar with PowerPoint, Prezi was slightly easier and faster to use.   I feel like the pros of this tool is that many of the presentations are designed for users to simply plug information, the tool comes with a variety of predesigned presentation formats, backgrounds and fonts.  It also has the text and slides move in attention grabbing ways.  You can change these things, but you also do not have to start from scratch.  Prezi allows users to embed videos and links, however these features require a paid subscription.  The free version is more limited.  Fairly typical..... annoying.... but typical.

       I think this tool could be very useful in a classroom.  A teacher could use Prezi in order to create and share lecture notes.  Students could create presentations on a variety of topics, create digital book reports, or to present speeches.  Students could also use this tool as a way to plan out papers instead of creating paper and pencil graphic organizers.  In fact, many of the presentations are already formatted with slides for introducing a topic, followed by slides for subtopics and details.  It provides a nice visual for how to organize many types of writing.

      I believe I would encourage the use of a tech tool such as Prezi in the classroom.  The presentations it can create are eye catching and fairly easy to modify.  I had a bit of a struggle figuring out how to add animation, but I feel that today's digital natives would be more adept at using Prezi than I am.  I could definitely use it to create slides for book introductions or to demonstrate how to map out different forms of writing.  However, I wonder if there are tools that can do more for less?  Can I embed videos and make things more interesting with similar tools such as GoogleSlides for free?  After all, if my students are digital natives, these are the things that will catch and keep their attention.  I don't know, but I am willing to bet there is probably something better out there.

If you are interested in using Prezi, check it out here.

Final Project Post!

   My vanity refinishing project is complete!  I think it looks even better than I had hoped it would six weeks ago when I decided to take o...